
SOD TIPS

ABOUT IRRIGATION:
These days, water quality and quantity are important issues that are on everyone's mind. These FAQs address common concerns related to water, irrigation, fertilizers, best management practices (BMPs), and landscapes and their maintenance. These FAQs draw on extensive University of Florida/IFAS research, and were created to help guide government officials in developing local regulations based on science.

HOW TO MEASURE AREAS:
Sometimes it's difficult to measure areas for new sod without the correct tools and impossible without the formulas to calculate your measurements. Luckily for you, Sod Masters® has provided the formulas and what is needed to measure the areas below.

What is needed to measure the areas you would like to replace with new sod?
1. A piece of paper and pencil (highly recommend a pencil instead of pen).
2. Measuring wheel or tape measurer (Home Depot Measuring Wheel)
3. Calculator
4. The formulas listed at the bottom of this page.
Once you have everything needed to measure the areas for new sod, go out and sketch the areas on a piece a paper. After you are finished sketching the areas, measure those areas (rectangle, square, triangle or circle). Use the formulas below to help determine what type of measurement is needed. Lastly, always add on an extra 10% of sod for cutting and edging. It's better to have extra than having to go out and buy expensive pieces of sod.
Square or Rectangle
To figure the area of a square or rectangle, measure the Length & Width and multiply them together.
Length x Width = Area
Example: 12 x 24 = 288 sq.ft.
Right Triangle
A Right Triangle has one 90º corner. To figure the area of a right triangle, multiply the two sides that contact the right angle and divide by 2
Length x Width / 2 = Area
12 x 24 = 288 ÷ 2 = 144 sq.ft.
Circle, 1/2 Circle, 1/4 Circle
To figure the area of a circle, take the radius times the radius, then multiply by 3.14. Radius is a straight line from the center of a circle to the outside of the circle.
(Radius x Radius) x 3.14 = Area
6 x 6 = 36 x 3.14 = 113 sq.ft.
Half Circle divide by 2
6 x 6 = 36 x 3.14 = 113 / 2 = 56.5 sq.ft.
Quarter Circle divide by 4
6 x 6 = 36 x 3.14 = 113 / 4 = 28.25 sq.ft.
PREPARING FOR NEW SOD:
-
Deep roots will make the lawn more drought resistant, a more efficient water and nutrient user and more dense as new grass plant shoots emerge. A dense lawn crowds out weeds and better resists insects and disease.
-
Clear the site of all building materials (wood, cement, bricks, etc.), as well as any buried stumps, rocks , stones or other debris that is larger than 4-5 cm (2-3 inches) in diameter.
Rough grade the entire area to eliminate any drainage problems on the property. This would include sloping the grade away from building foundations, eliminating or reducing severe slopes and filling low-lying areas. A tractor-mounted blade and/or box are most often used for rough grading, but if the area is smaller, it can be done with hand tools. The rough grading will probably uncover more debris that should be removed and not buried.
Initial tilling, to a depth of at least 5 cm (2 inches), should be completed prior to adding any topsoil or soil amendments. This will control most annual weeds, alleviate subsoil compaction and permit a bonding of the topsoil to the subsoil and improve root penetration and water movement.
Add topsoil to achieve a total topsoil depth of 10-15 cm (4-6 inches), after firming. The topsoil should be a loamy sand, sandy loam, clay loam, loam, silt loam, sandy clay loam or other soil suitable for the area. To the extent possible, practical, affordable and available, incorporate humus (fully decomposed organic matter) into the topsoil.
-
Test the soil pH with a chemical soil test to determine if any pH correction materials are required. Acidic soils (pH of 6 and below) can be improved with the addition of lime. The type (or source) and total amount of applied lime will be determined by the level of acidity and should be based on the recommendations of a reliable garden center or turf professional. Alkaline soils (pH of 7.5 and higher) can be improved with the addition of sulfur or gypsum. As with acidic soil correction materials, the type and total amount of materials will be determined by the level of alkalinity and should be based on professional recommendations.
-
Finish grade the entire site, maintaining the rough grading contours and slopes, with a tractor-mounted box blade on large areas or heavy-duty rake on smaller sites.
Roll the area with a lawn roller, one third full of water, to firm and settle the surface and reveal any low spots that should be filled to match the surrounding grade surface. If time permits, allow the area to settle further with rainfall or by applying irrigation water.
This site is now ready for turfgrass sod. With this degree of careful and thoughtful soil preparation, the resultant lawn will be absolutely beautiful and require less maintenance and smaller quantities of applied water, fertilizer and pesticides, as it maintains a high degree of density and uniformity and recovers much more rapidly from wear. For years to come, your investment in soil preparations will yield a high return.
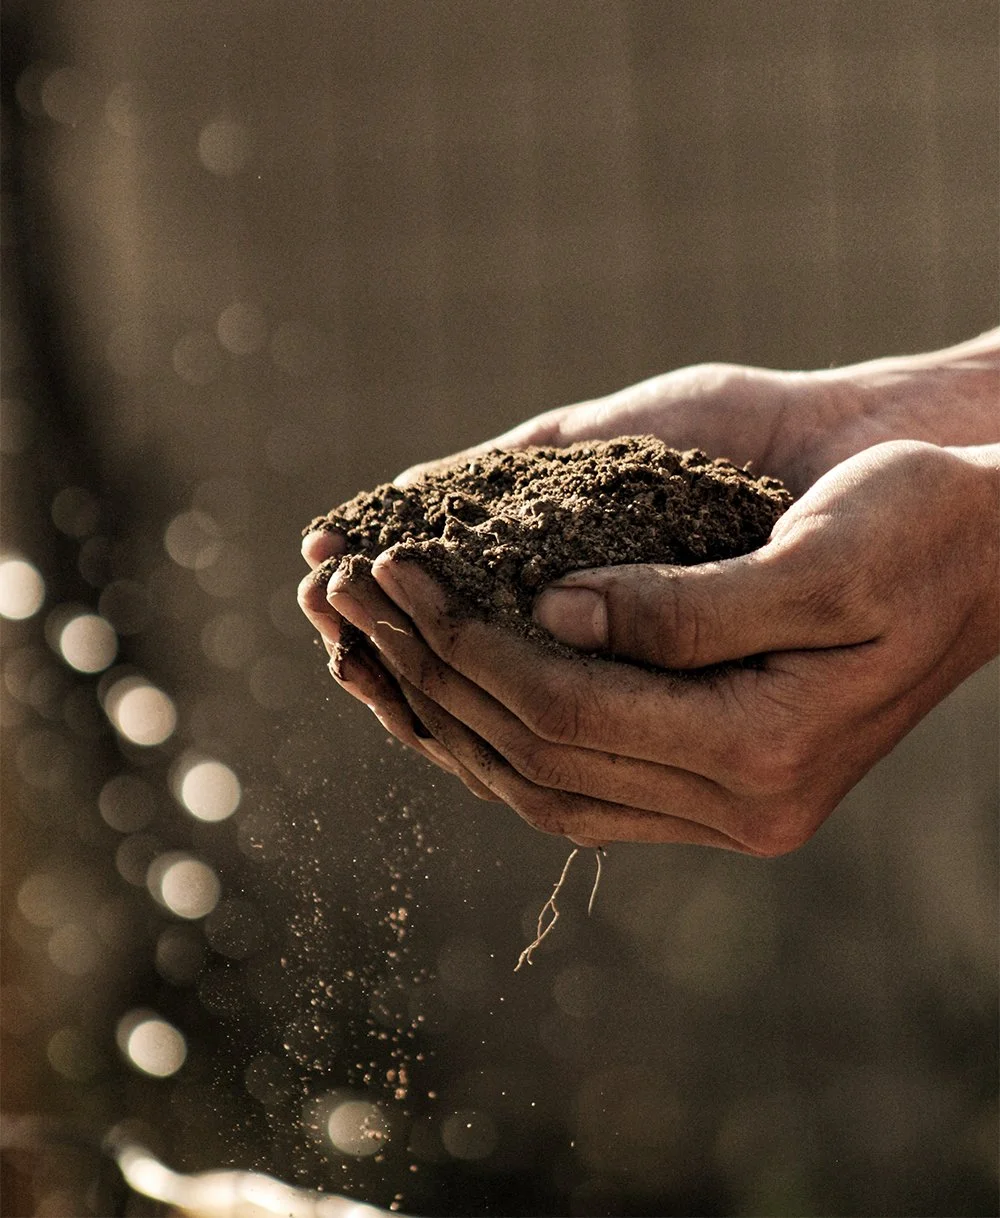
SOIL TESTING:
-
No matter where you live in the beautiful USA, the pH and nutrient characteristics of our soils vary greatly. The ability of the soil to provide nutrition to a plant is critical to the overall health of a plant. When a soil is unable to provide nutrients in the proper amounts, it can lead to reduced plant strength/health and increased susceptibility to damage from disease, insects, drought and other conditions. Not what your new sod wants to face after we deliver.
Routine soil testing is a great tool to help point out nutrient deficiencies and surpluses, soil pH, and Cation Exchange Capacity (CEC). Understanding the test results allows for the selection of the appropriate fertilizer or amendments to help correct deficiencies and other problems to optimize the uptake of fertilizer nutrients by the plant.
-
Optimum soil pH is species dependent, but generally speaking, grass, shrub and flower nutrient uptake is maximized when soil pH is between 6.0 and 7.0. Most soil nutrients are readily available when the soil pH is 6.5. If pH drops below 6.0 and soils are more acidic, elements like manganese and aluminum become more soluble and their excessive uptake can reach toxic levels causing plant stress and failure.
Conversely, high pH or highly alkaline soils usually suffer from reduced nutrient, and especially micronutrient lock-up (iron, magnesium and calcium). They can have high concentrations of sodium resulting in poor soil structure. Water and essential nutrients don't easily penetrate poorly structured soils, resulting in nutrient deficiencies and stunted plant growth.
-
Soil pH is typically lowered with sulfur and raised with lime. Pelletized lime is generally the preferred method of lime application over granular for raising pH as it is much easier to apply, pellets break down with water, are less dusty and pelletized lime changes the pH quicker than granular lime. Dolomitic or calcitic lime may be used depending on the soils need for magnesium or calcium.
-
Soil test results are only as good as the samples collected and sent to the lab for analysis. IMPROPER sampling is the largest area for error in the soil testing process and can lead to test results that could recommend over- or under application of nutrients and amendments.
Make sure to collect a representative sample of each area being tested. 1-2 cups of soil are needed for proper testing and should be free of plant tissue, thatch, mulch or other surface debris. For areas up to 10,000 sq. ft., 10-12 individual cores should be randomly taken and combined to make one composite sample to be placed in a sample bag. For areas over 10,000 sq. ft., randomly take one extra core for each additional 1,000 sq. ft.
Separate samples should be collected from areas that differ in soil color, soil texture, and type of plants grown. Avoid areas that have recently been fertilized or amended. Turf should be sampled at a depth of 3" below the thatch layer, while trees, shrubs and ornamentals should be sampled to a depth of 6-12" with cores being taken from inside and just outside the drip line.
-
Soil testing is an agronomic Best Management Practice (BMP) recommended by the fertilizer industry, university agronomists and independent consultants that provides many benefits to the turf/landscape manager including:
• Monitors pH and nutrient levels in turf and landscape soils
• Offers corrective action to optimize nutrient uptake (reduce lost fertilizer $$ from nutrient lock-up)
• Aids in customization of fertility programs
• Allows you to grow a healthy and flourishing landscape to put your stamp on
-
When all said and done, we like to compare newly delivered sod to a newborn baby. You wouldn't want to bring your newborn baby home to no food, milk, baby crib etc... Chances of your baby getting sick and not surviving is likely. The same could be thought of for sod. Your sod is freshly cut, delivered and ready to grow at it's new home; however, if the area isn't ready for the sod to grow successfully, it probably won't survive in the long run.
Take the extra steps and spend a few extra dollars to properly prepare the area you want your new sod to be installed! Don't take the shortcut to save a few hundred dollars. Get the job done right the first time and this will prevent you from having to re-sod your lawn months or a year down the road.
John Deere Landscapes in Longwood, Florida offers Soil Testing. Bring your soil samples to them and they will ship it to the University of Florida for testing. Usually takes about 2-3 weeks. You can reach the Longwood John Deere Landscapes at 407.332.8933